
Date: 4 Jun 2023
Issue
Oops, I used E10 fuel and left the car over the winter now the carburettor leaking fuel as a visible drip onto the manifolds.
The carburettor may have already been nearing a rebuild after 20 years anyway.
Diagnosis
I went to start it today, eventually got a misfiring engine running then noticed fuel pouring out of the carburettor. Definitely a blown seal, the diaphragm also looks a bit past it.
Repair
A repair kit is needed for a Zenith VN2 as fitted to the Mk1 Cortina 1500.
Parts
Remove the carburettor from the engine
Lift off the air filter.
- Using 1/2 inch open end spanner disconnect the fuel inlet pipe.
- Carefully wiggle the vacuum advance pipe off.
- Using a flat-blade screwdriver unscrew the choke retainer screw and release the clip and remove the choke cable.
- Using pin nose pliers disconnect the throttle linkage by removing the retaining clip and washer and remove the throttle arm.
- Using a 9/16 inch open spanner unbolt the unit for the engine and lift clear.

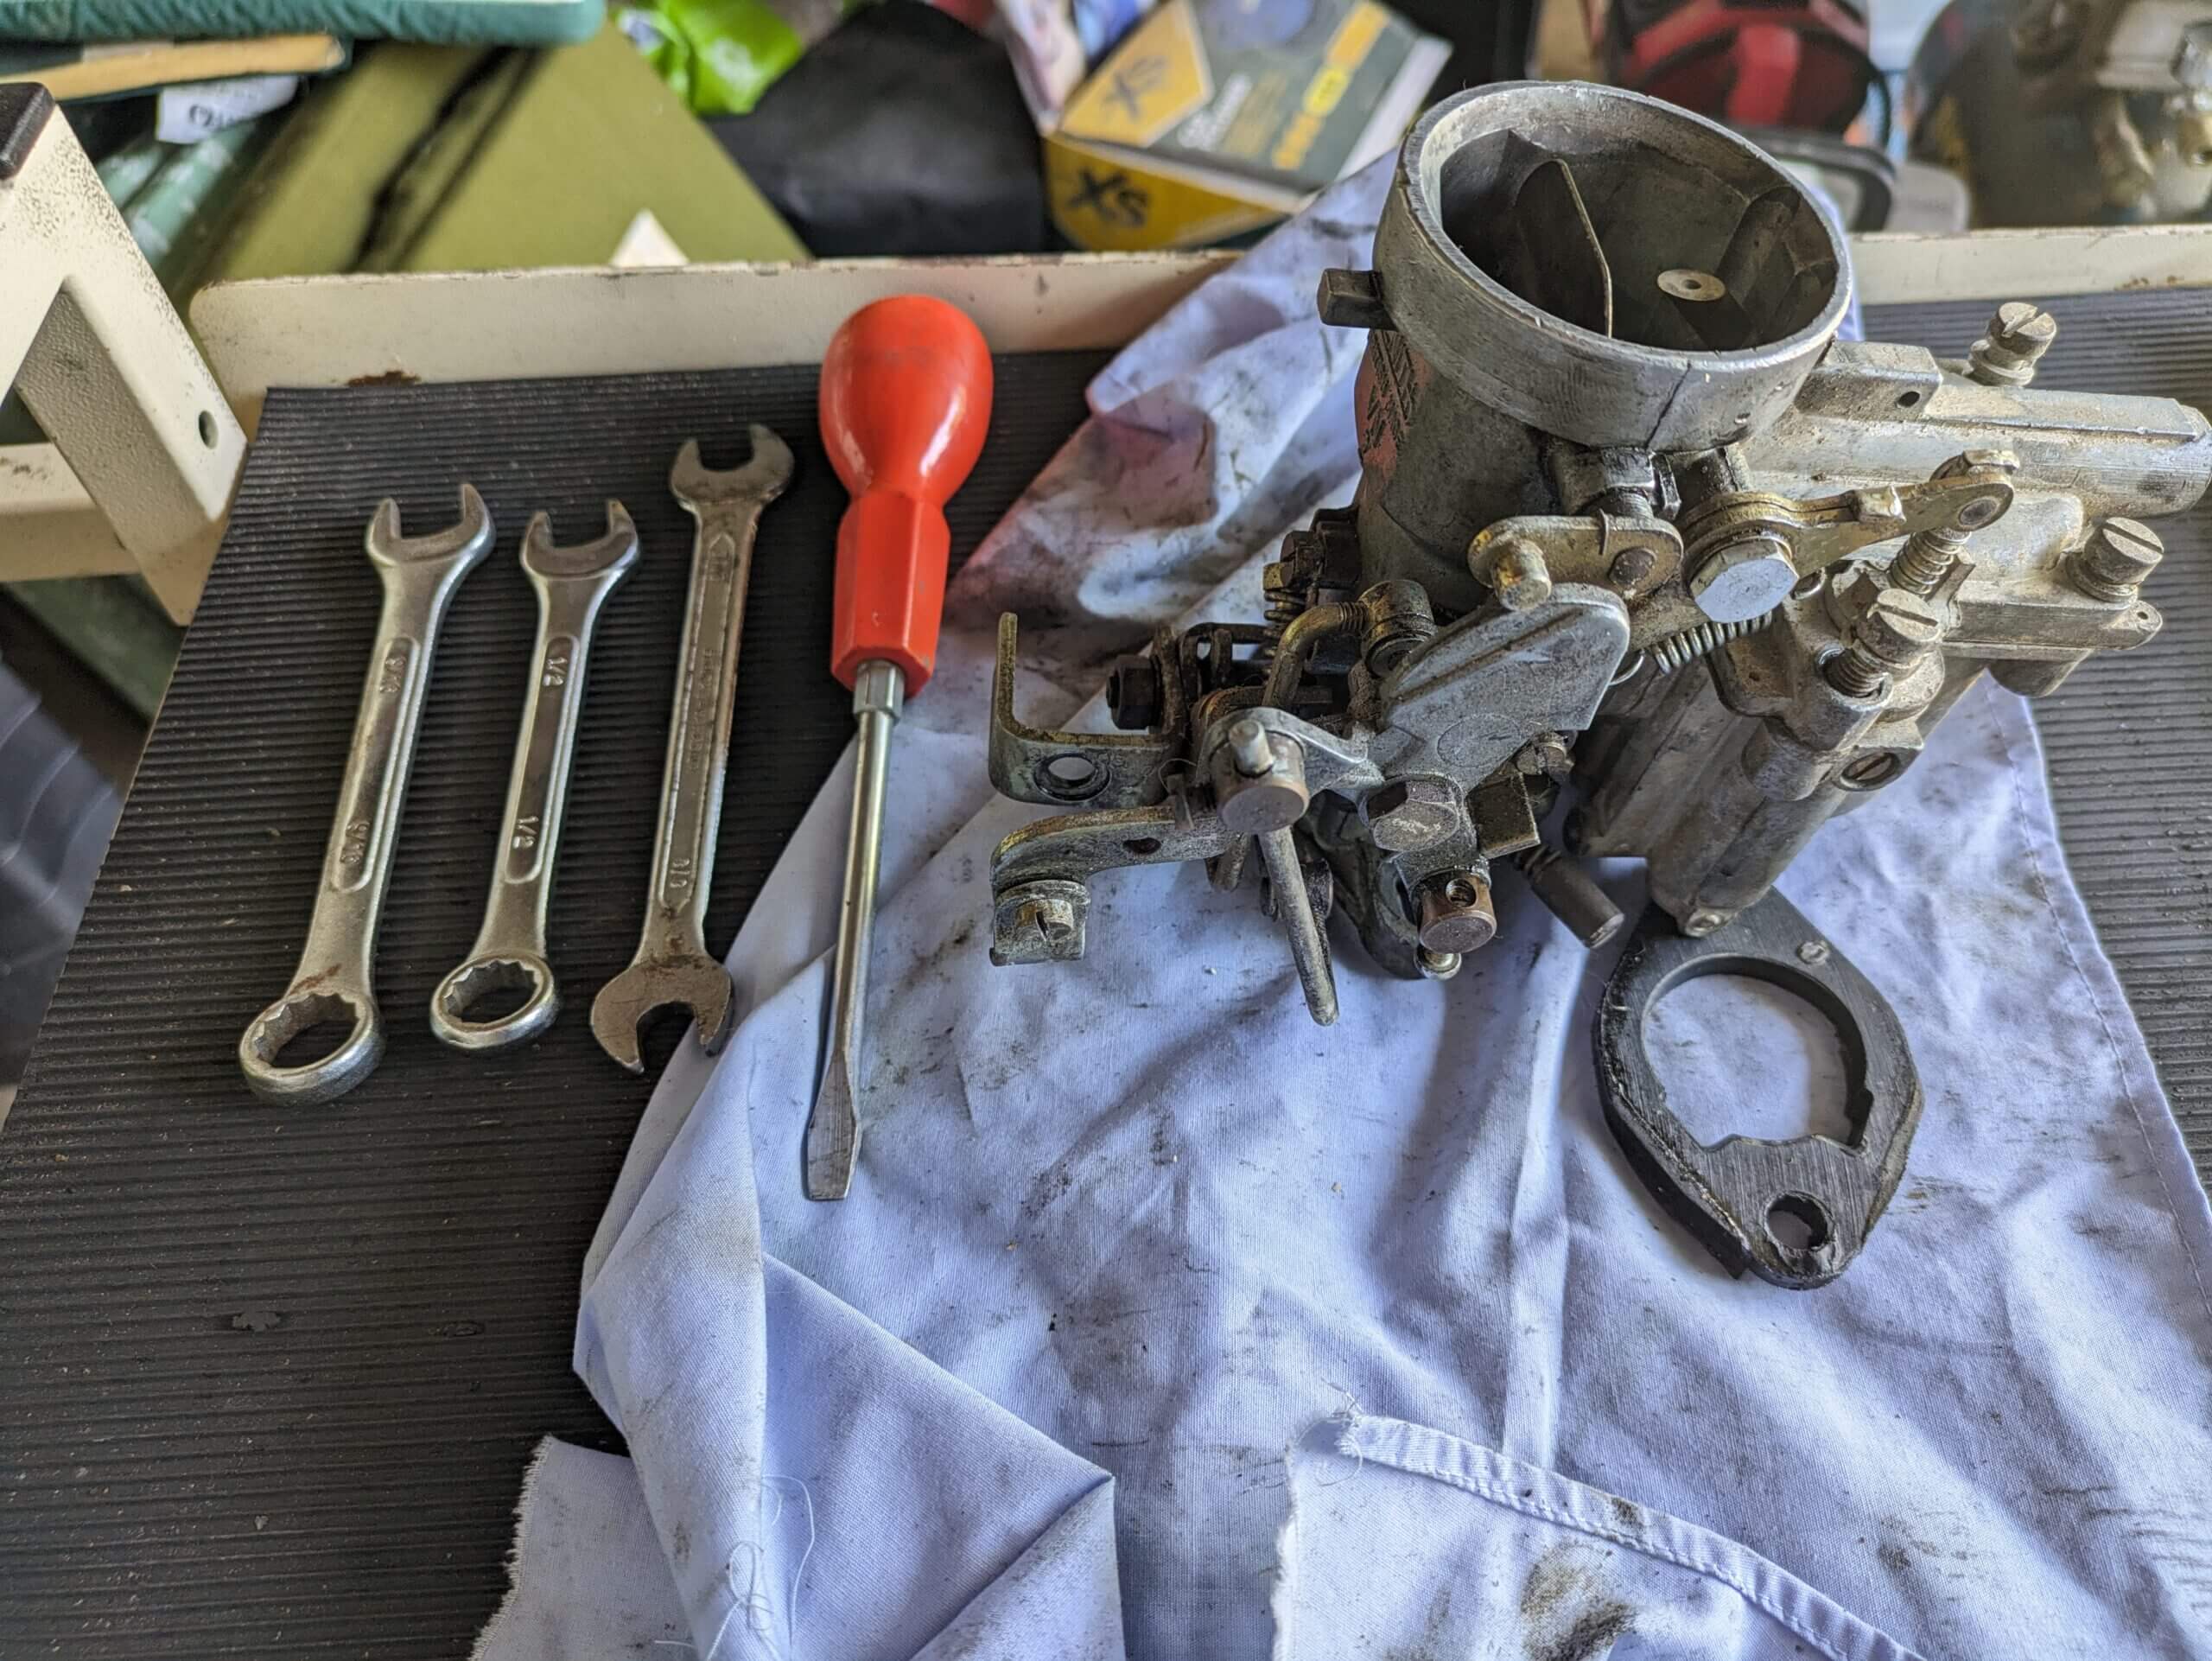
On the bench
With the carburettor off the engine, it is ready for inspection and rebuild. The figure below is a quick view of the parts and how they all go together.


Check float and operation
Using a flat-blade screwdriver remove the top four screws and carefully drop the float chamber. There are 2 paper seals that will likely need replacing.
If the float is under fuel it is likely punctured and needs replacing.
Tip the float out and shake whilst listening for fuel inside.
Check float moves up and down in the chamber unimpeded.
Look for dirt in the chamber itself and remove if present (use carburettor cleaner spray).
Check diaphragm
Unscrew 3 screws on the side of the body. Carefully lift off the diaphragm cover catching the spring as it makes a bid for freedom.
Using a sharp blade release the diaphragm and 2 x paper gaskets.
Inspect the diaphragm if ripped or damaged then replace it, it’s probably worth replacing anyway as the rubber could have hardened jamming it open or closed.
Check other moving parts
Check all other visible moving parts and seals before disassembly. Look for evidence of leaks, missing parts, worn or broken bits.
Drop the float chamber by undoing the 4 large screws on the top of the unit

Check the condition of the float (put it by your ear shake it and listen for any fluid rattling about in it). Check float moves and check the condition of the fuel valve.
Order replacement parts
Using the power of the internet order any replacement parts identified – refer to the parts recommendations below. If there are many parts required, it might be worth finding a reconditioned unit.
When parts arrive lay them out on a tray and identify each before commencing the replacement activity.

In the figure above it can be seen that there are insufficient gasket pins and the fuel valve spring looks short two pins must be reused and the spring discarded.
Economy Diaphragm Replacement
This can be done on or off the car if it is worth replacing as part of the rebuild. There are 4 parts: 2 gaskets, the diaphragm and the return spring.
Remove the 3 retaining screws and carefully open the housing (catch the spring)


Take note that the diaphragm spring cup needs to be on the outside of the diaphragm.
Remove the gaskets, and diaphragm, clean out the area with carburettor cleaner and replace the parts. Replacement is reversal or removal. Take care to clean gasket faces to remove any old gasket parts (as these will prevent a good seal).

Float chamber fuel valves
Earlier the float chamber was removed to inspect the float. It is best to replace the gaskets as they are likely old and liable to failure.
Check the condition of the fuel release valve and spring (note the spring I received in the kit I ordered was incorrect). Check the condition by releasing the valve top and inspecting the sprint and bore. Clean with carburettor cleaner.

Replace the fuel inlet valve. This will stick when worn and cause over-fuelling.

A selection of washers may come in the kit, make a note of the required spacer washers when replacing. The inlet valve should move freely and return to the closed position when in place – refer to the figure below.

Float chamber gaskets
Inside the float chamber replace the fuel accelerant gasket. The mechanism is released by the two screws on the case of the chamber accessible once the float chamber is removed from the carburettor.

The Zenith carburettor design requires the gaskets to be held in with brass pins. These need removing and replacing as part of the rebuild (attempting this with the carburettor on the car is very challenging, it is recommended the pins are removed and replaced with the carburettor on a bench). In the figure below 2 of the 6 pins that hold the gaskets in place need to be located and removed. There are 4 pins to hold the largest gasket and 2 to hold the smaller gasket. To remove cut away the old gasket from under the pin using a shape blade, grip the pin and twist anti-clockwise to remove (patience is needed and take care not to ’round off’ the pinhead or drilling will be required).

Replace gaskets and pins, pressing them gently into their holes. Replace the idle jet – see of top of the figure below.


Idle will need adjusting once the carburettor is back on the car and the engine warm.
Rebuilt carburettor

With the carburettor rebuild complete, refit it onto the engine and test.
Parts
Approximate prices from: 4 Jun 2023
| Part | Description | Supplier | Cost |
|---|---|---|---|
| Historic car parts 334022082858 | SERVICE KIT for ZENITH 33VN-2 Carb on FORD CORTINA Mk1 1500 1.5 lt 1962-67 | eBay | £40 with postage |
| Carburettor cleaner | Halfords | £9 | |
At the time of writing the club parts were limited for this model of carburettor.
Leave a Reply